Staff guide to glossary activity in Moodle
For staff on how to use the Glossary activity in Moodle.
The Glossary activity enables participants to create and maintain a list of definitions, like a dictionary, or collect and organise resources and information. Glossaries can be:
- A collaborative bank of key terms;
- A ‘getting to know you’ space where new students add their name and personal details;
- A ‘handy tips’ resource of best practice in a practical subject;
- A sharing area of useful videos, images or sound files;
- A revision resource of facts to remember.
- On the top right hand corner, toggle Edit mode on.

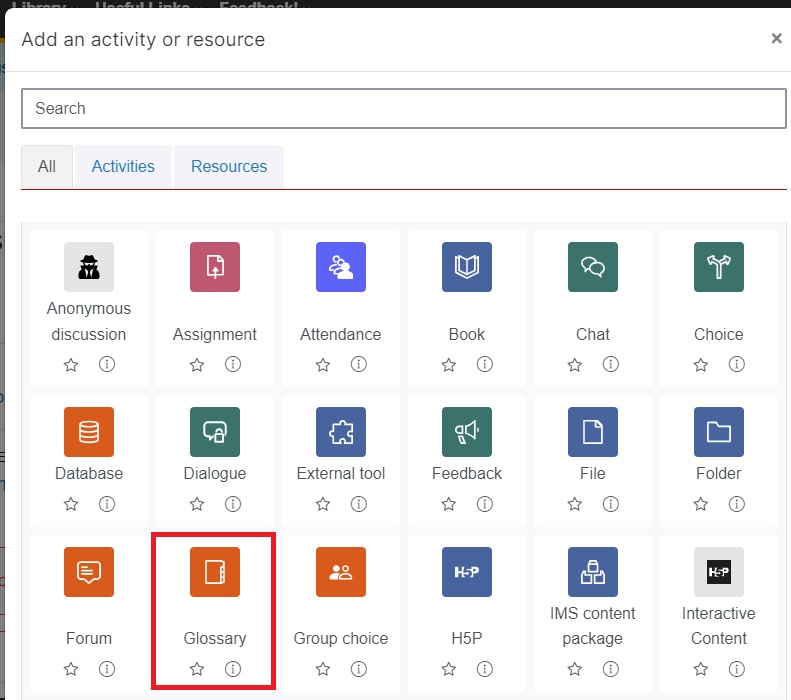
- At the bottom of the section/topic/week where you would like the Glossary to appear, select Add an activity or resource.

- Select Glossary.

- Enter a Name in the text box.

- In the Glossary type drop-down menu, choose Main glossary or Secondary glossary. You can select the question mark for a description of each type of glossary.

- Scroll down and select Save and return to paper.

See this video from Moodle Academy for more information on using Glossary.
Note: The Moodle version and appearance in this video are slightly different from the version at the University of Waikato.
