Wizard 2: Create Gradebook Categories
For staff on how to create gradebook categories using Moodle Wizard 2.
Wizard 2 Tutorial Video
Note:
- Assessment items need to be in categories so the marks can be transferred to the student management system.
- You can have a single category (called e.g. Assessments) with a weight of 100.
- You can select from the default categories or create your own.
- Your category weights should total 100.
Step-by-Step Instructions
At the top right of your Moodle paper, toggle Edit mode on.

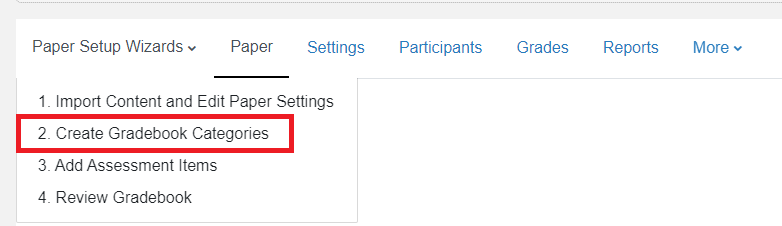
At the top left of your paper, under the paper name, select the Paper Setup Wizards tab.

Select 2. Create Gradebook Categories.
- Enter or edit the assessment categories.
Note: If required, you can edit category names and weights when you review your gradebook with Wizard 4: Review Gradebook. See also Edit gradebook.
4a. To include a Grade category in your gradebook, tick the box to the left of its name.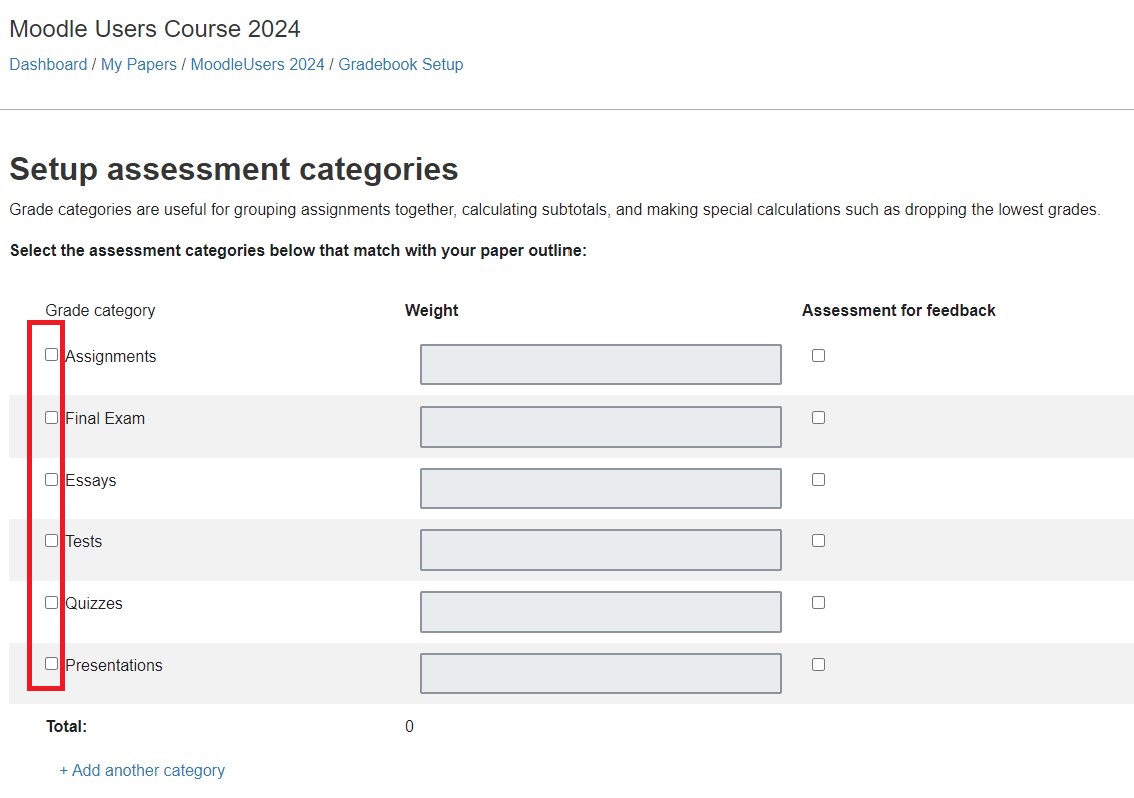
4b. Enter the Weight of the grade category. Your category weights should Total 100.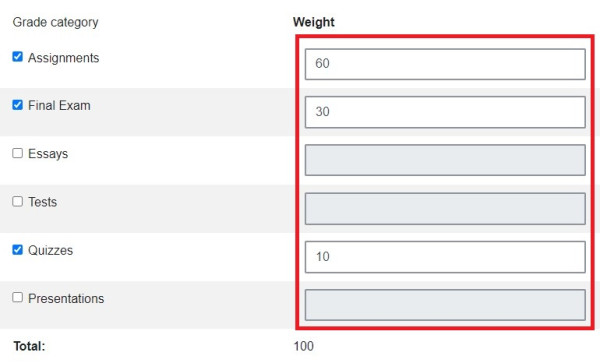
4c. If a Grade category will not contribute to the final grade, tick the Assessment for feedback box to the right of each category.
Note: This enters a category Weight of zero.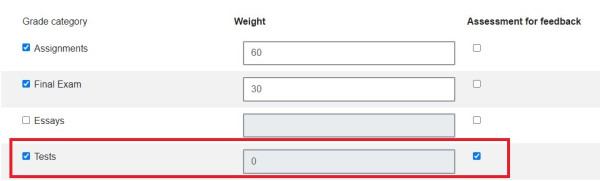
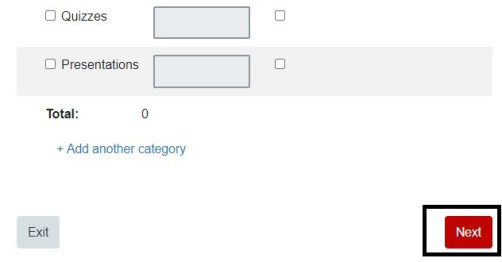
4d. If you need to add a category, select Add another category at the bottom left.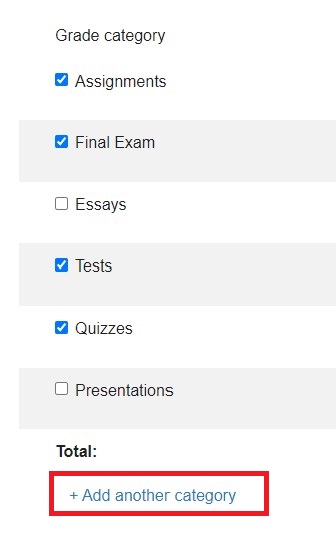 Then enter a category name and Weight.
- Finally, select Next at the bottom right of the page.
Note:
- The Wizard will now lead you through adding a new assessment item. See Wizard 3: Add Assessment Items.
- If you only wish to create your gradebook categories at this stage, select Exit at the bottom left of the Add new assessment item page.
- See the Edit gradebook page on how to edit category names, calculations, weights, move, hide/unhide or delete categories, and other gradebook edits.
To set up a 'Best of' category in the gradebook, follow the above steps to create the gradebook categories. Then, follow the below instructions:
- Select the Edit button located to the right of the category you wish to apply the 'Best of' condition to.
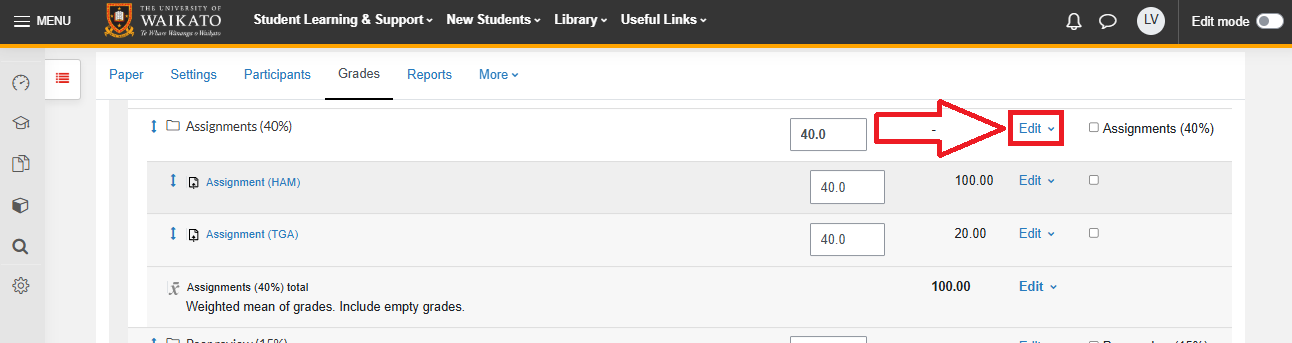
- Select Edit settings from the drop-down menu.
- Select Show more...
- Enter a value in the textbox provided next to Keep the highest.